Pipe Spool Inspection Using Glove Fit
Problem
A Canadian fabricator needed to quickly and accurately inspect a piping assembly that was fabricated in their shop. Traditional and manual measurement tools were used throughout the fabrication process. The fabricator needed the inspection to be fast, accurate, and provide feedback that was easy to understand for workers on the fabrication floor. It was determined traditional Dimensional Control (DC) methods were too time-consuming and the fabricator chose Glove Fit for fast QA/QC on the piping assembly.
Objectives
1. Perform quick inspection on the pipe spool
2. Find and fix erroneous parts on the pipe spool
3. Complete fabrication on time
Challenges
1. Typical Dimensional Control approaches were too time-consuming
2. The geometry of the pipe spool was complicated
3. Constraints of resources and build time
4. Accuracy is impeded; cannot rely on measurement tools used throughout the fabrication process (tape measures!)
Solution
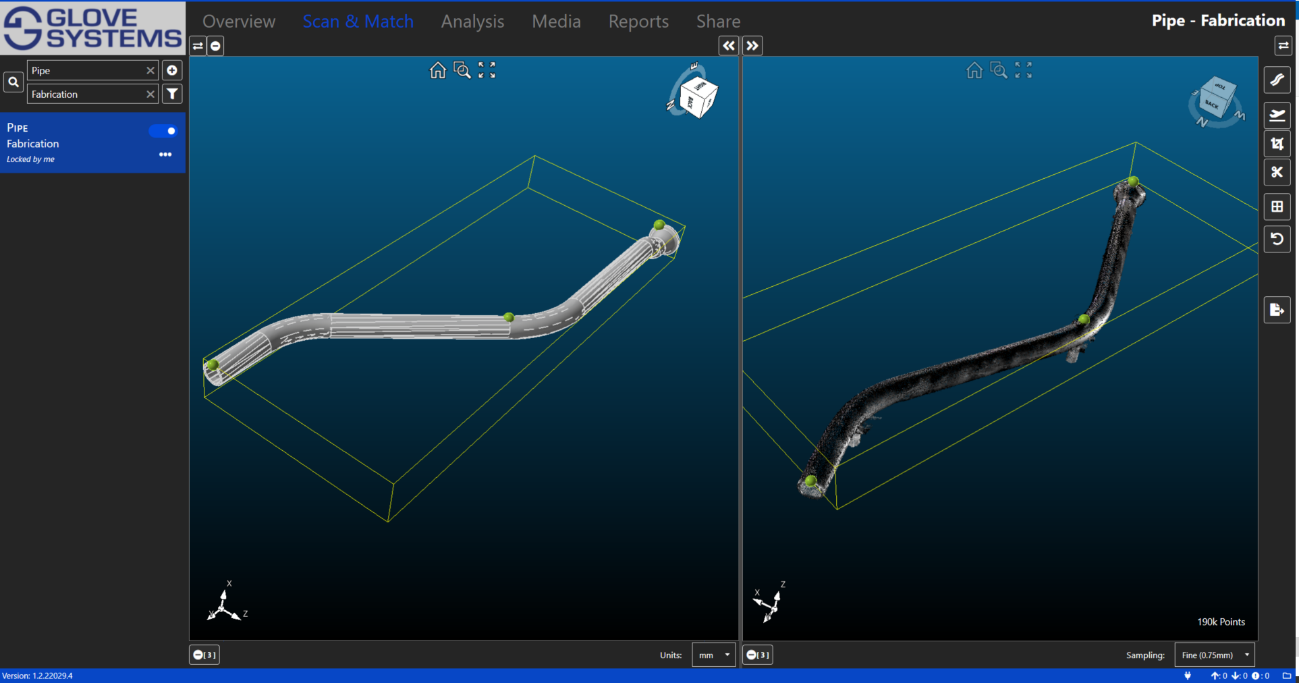
The Fabricator used Glove Fit (Glove Software) to scan the pipe spool and compare the resulting image with its design model to detect all deviations.
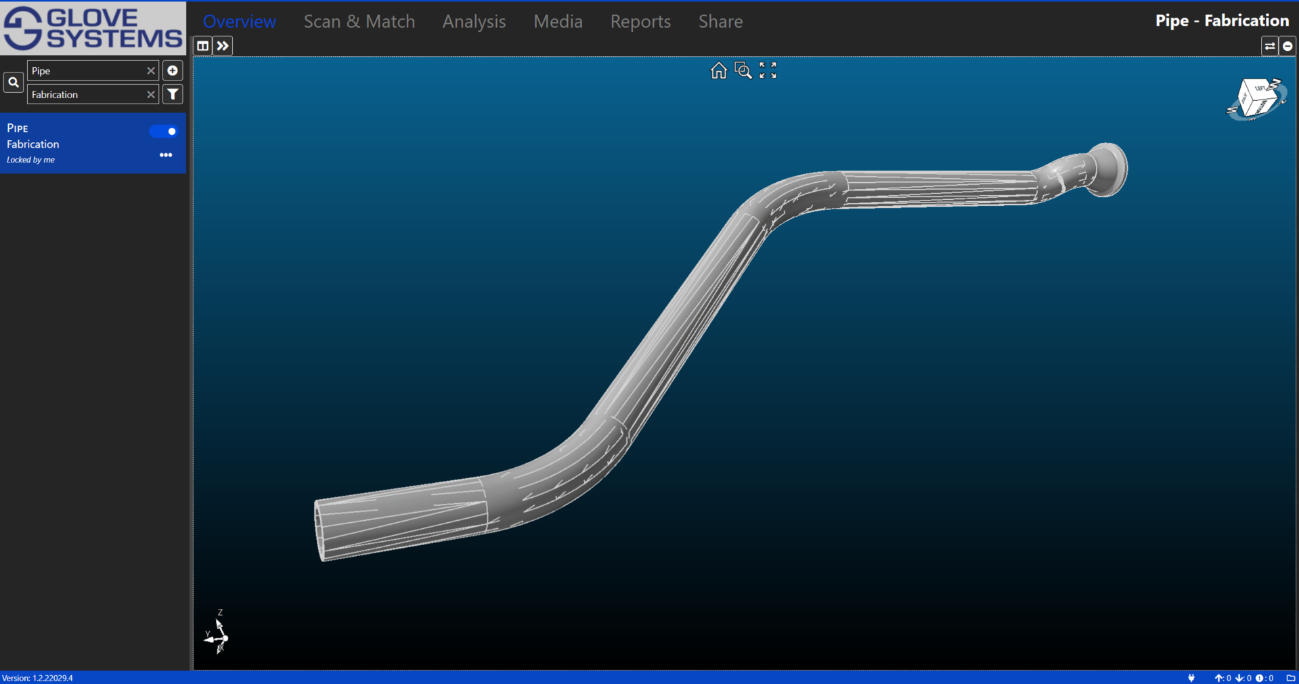
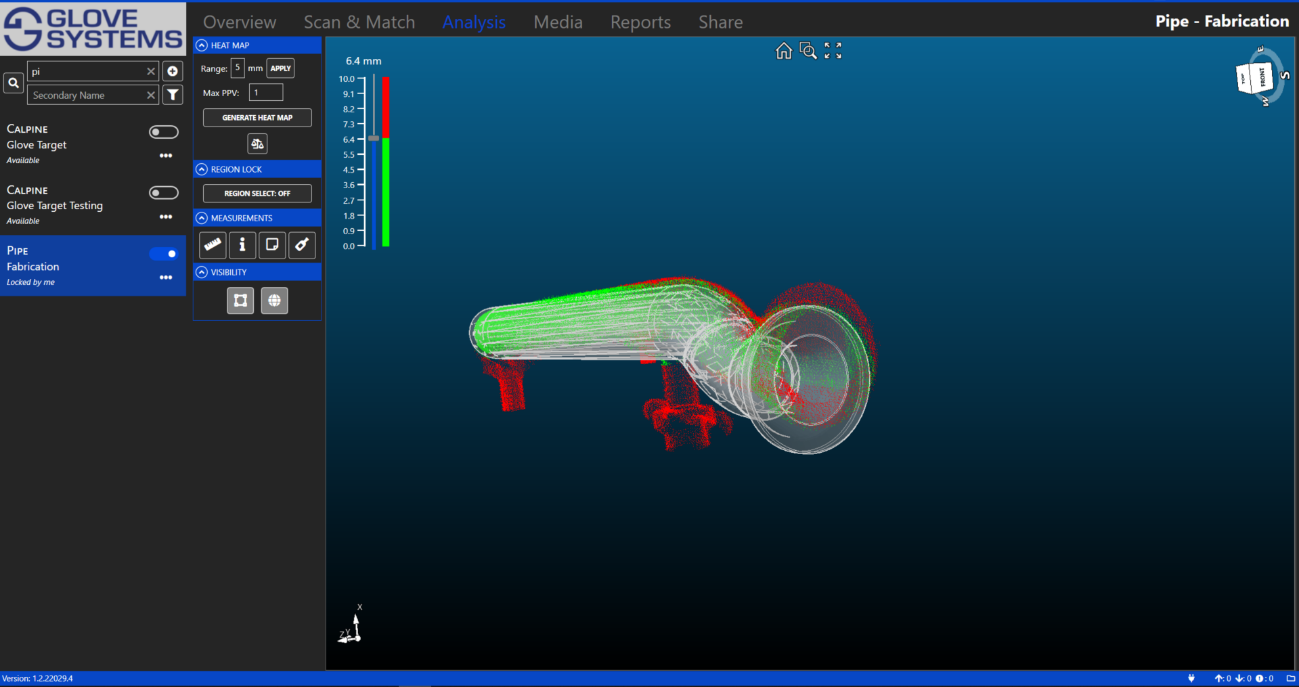
A FARO Focus laser scanner was used to scan the pipe spool, which then generated an exact digital version of the pipe spool into Glove Fit, an easy-to-use point-cloud measurement program by Glove. The result of the FARO scan is shown next to the 3D model of the pipe spool in Glove Fit application.
Results
Utilization of Glove Fit allowed the fabricator to get to their results in under an hour!
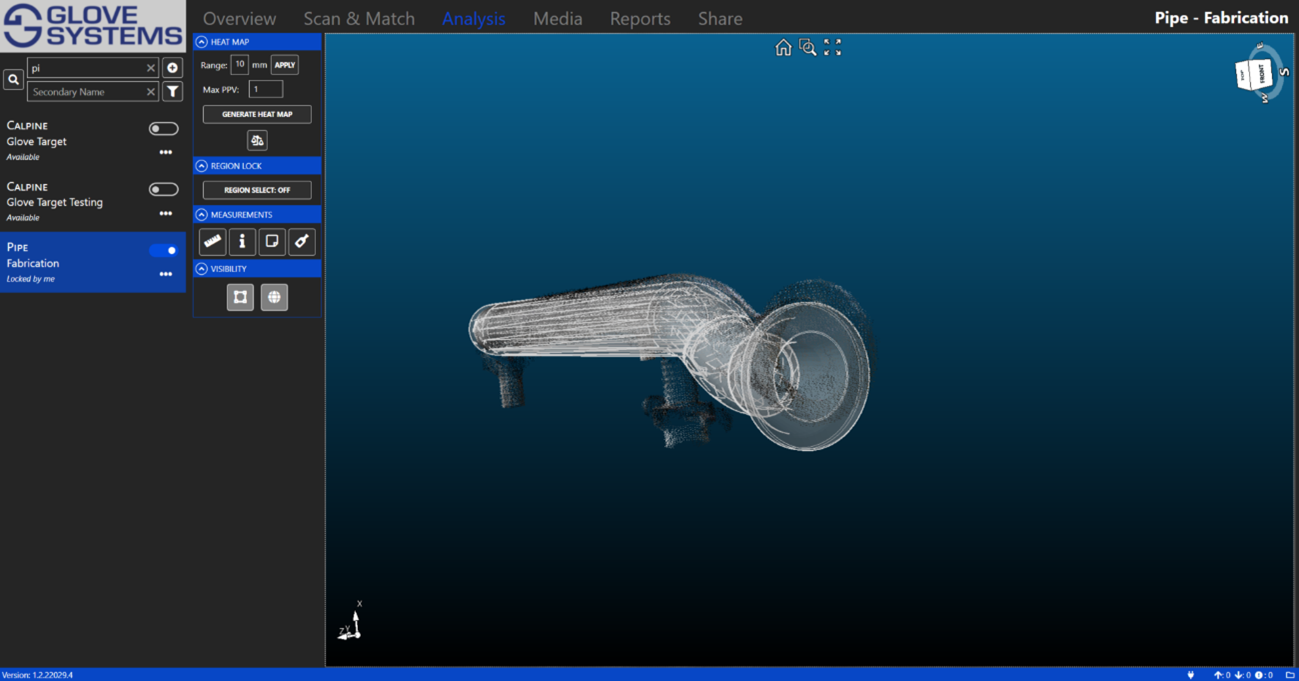
Glove Fit was able to quicky detect a major error. The fabricator was able to immediately detect a major deviation on one of the hub at the end of the pipe spool. The fast feedback allowed for timely remediation on the pipe spool. This quick inspection in-turn saved the fabricator more than $10,000 worth of back charges and onsite delays.
The feedback is provided by the initial overlay as well as a deviation analysis using Glove Fit.
