Pressure Vessel Inspection Using Glove Fit
"I know where to look"
Problem
A fabrication shop is building a large steel vessel used to contain fluids. The fabricator has on staff a QC specialist who checks measurements to ensure accuracy. This personnel is an expert on the asset and its design and is experienced in QC practices. The role of the QC process is to confirm an acceptable and completed asset to spec has been fabricated and will be efficiently installed. In particular, the QC expert must measure the asset carefully to ensure that it matches with the planning documents.
QC on assets of this size present a challenge. While not that complex in terms of moving parts, assets may have many possible error-points. Mountings, flanges, weld points, joiners, and seams can all possess subtle and hard to detect faults that are beyond acceptable tolerances. A large vessel presents potentially thousands of points of distortion and error that the specialist may need to review.
The complexity of this QC review, even with a modest-sized vessel, means that it can take a long time to complete. This delays the fabricator from sending the asset to the site for installation for the duration of the QC check, taking up shop space and reducing shop throughput. The QC has to decide, based on experience, where to look for errors and faults. Those faults can be non-existent, minute, large, widespread, or particular. The degree and extent of errors or flaws may be obvious or hidden, resulting in either rework or eventual conflicts with the asset owner at site.
Solution
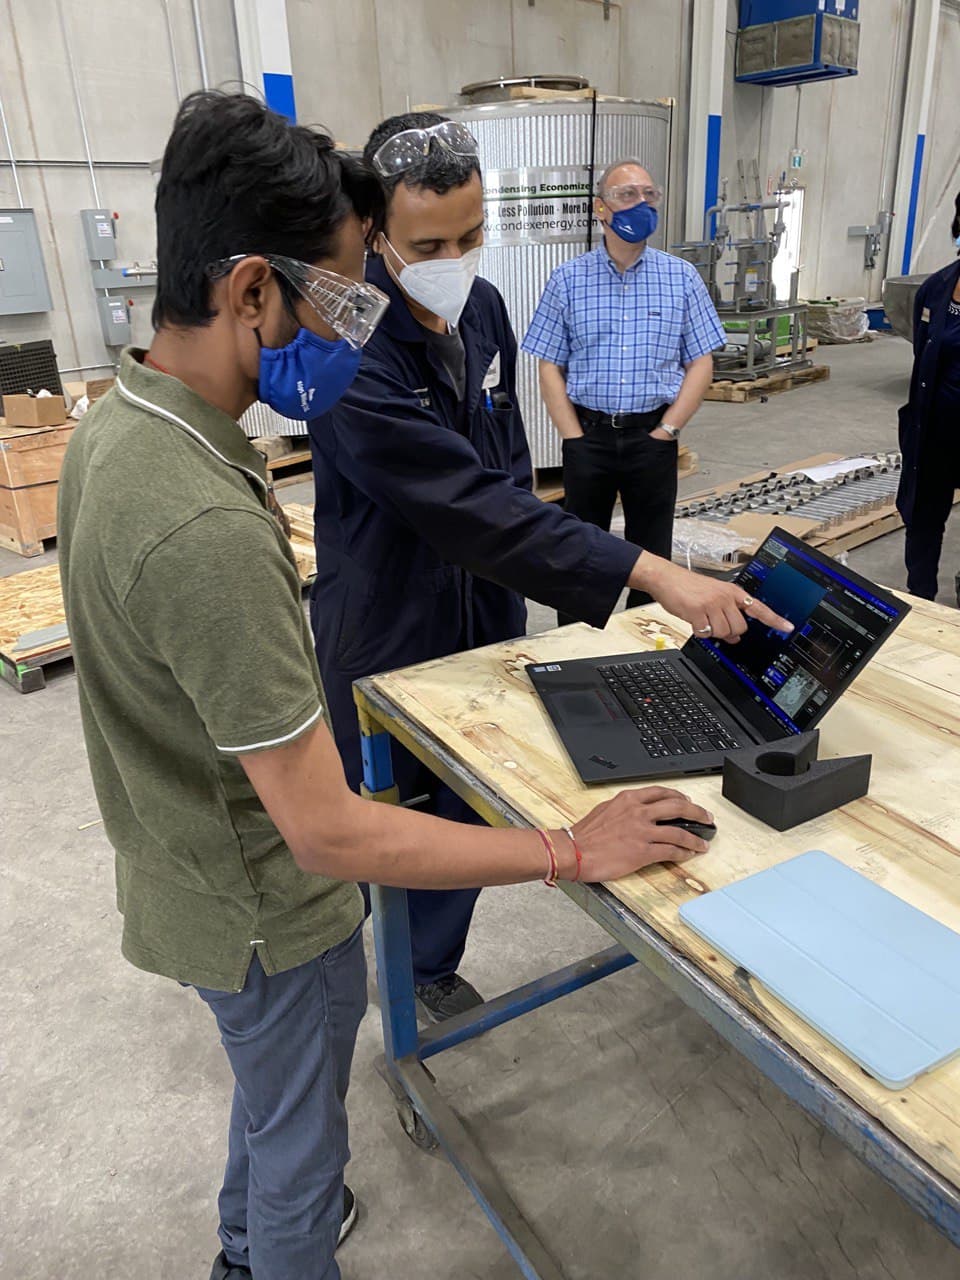
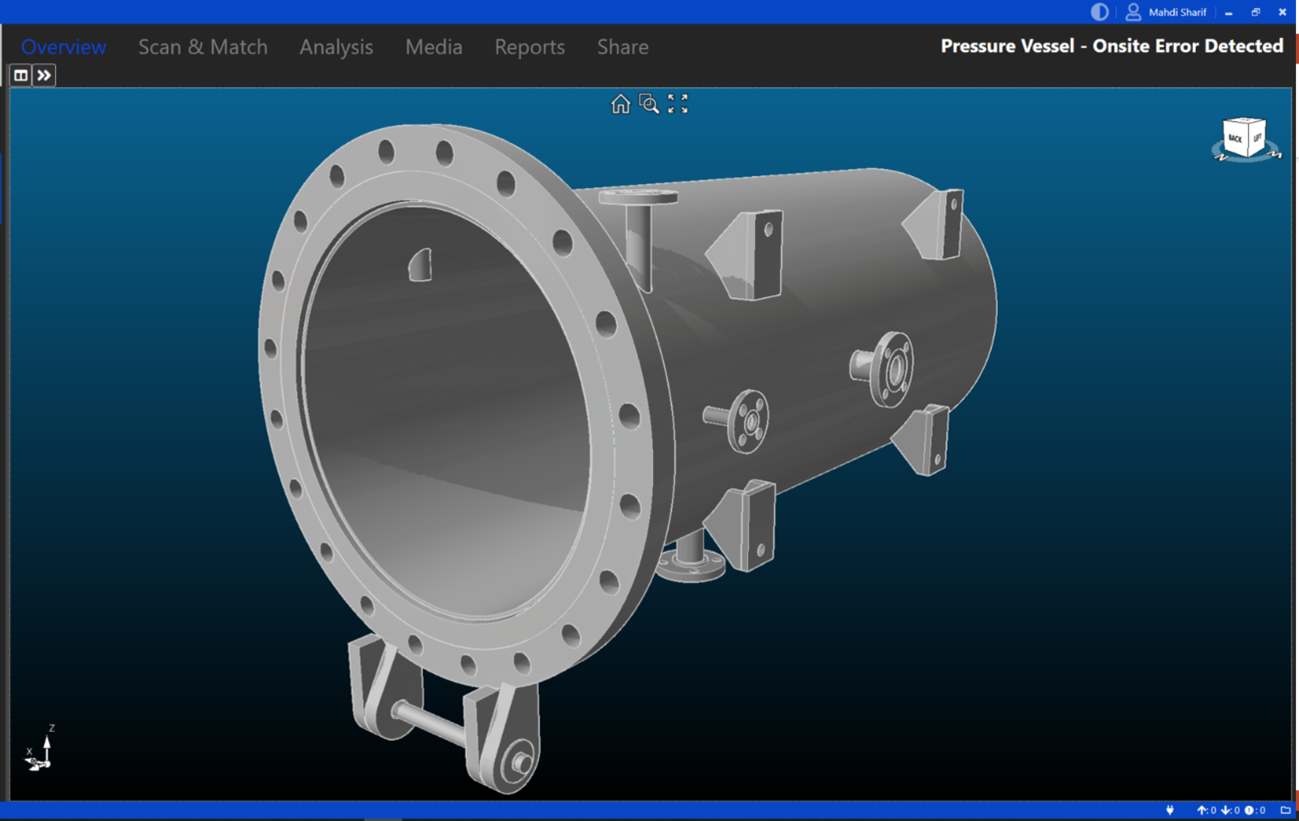
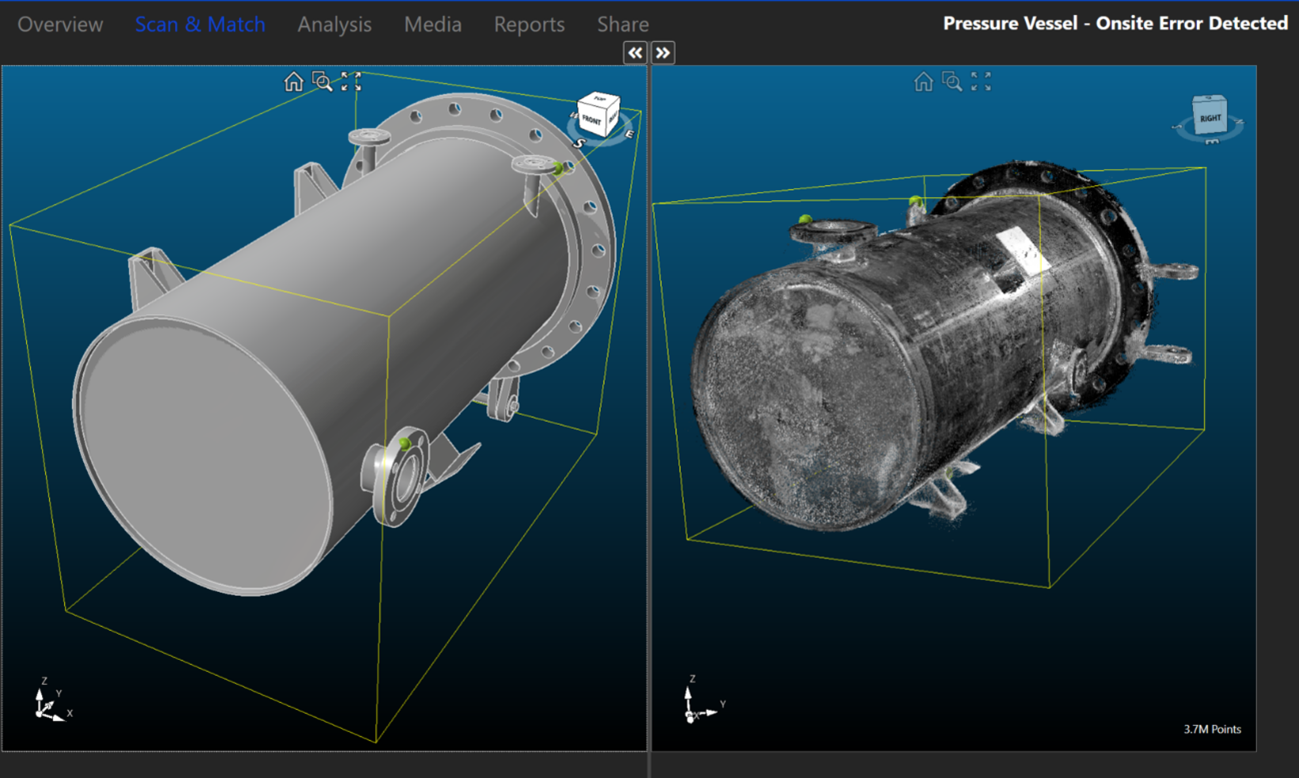
The fabricator used Glove Fit (Glove Software) to scan the asset during the course of the build, creating a 3D model which can be quickly and easily compared with the vessel’s design documentation.
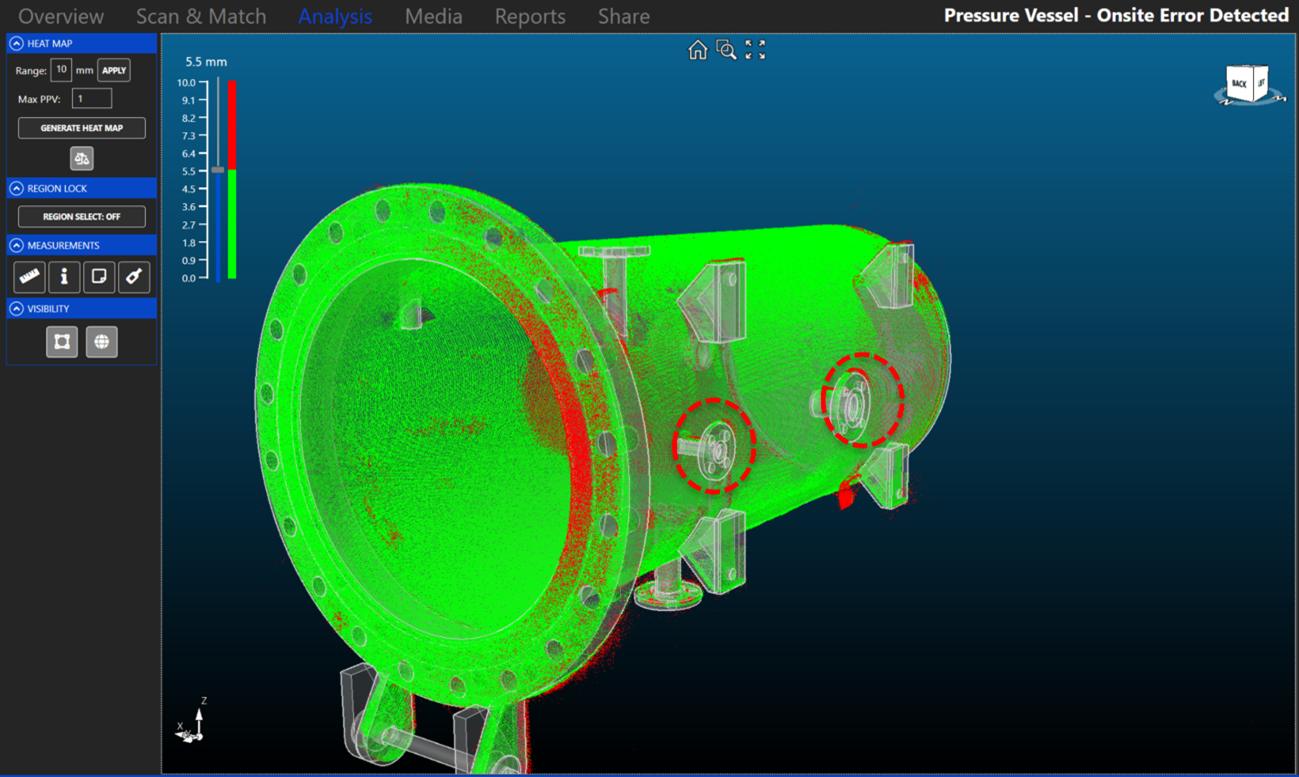
A FARO Focus laser scanner was used to scan the pressure vessel, which then generated an exact digital version of the vessel (a technique called point cloud) into Glove Fit, an easy-to-use point-cloud measurement program by Glove. This process required less than 45 minutes of time.
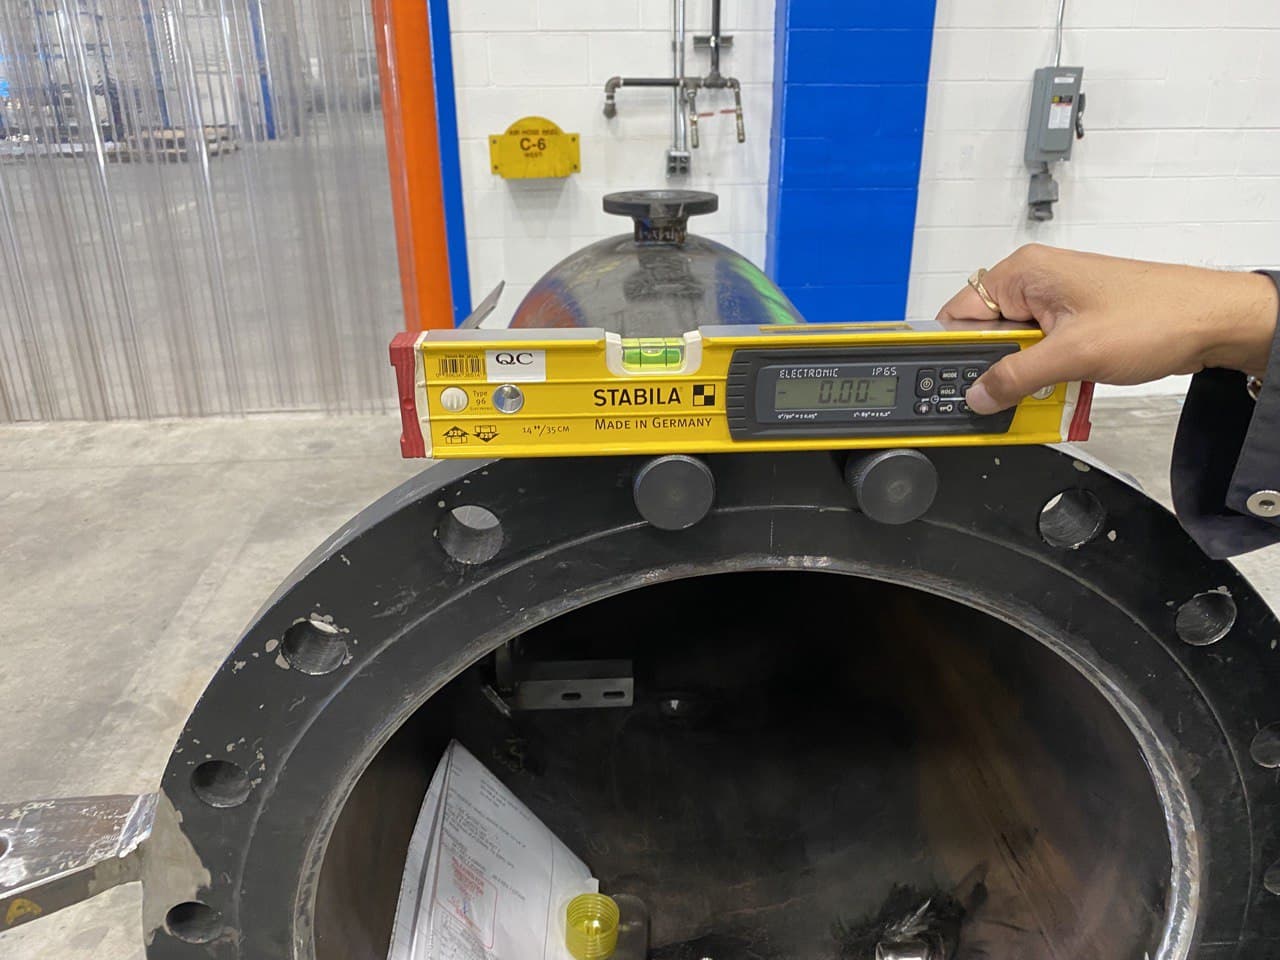
The QC personnel was able to analyze the model closely and observe where it deviated from the design. This narrowed the search for flaws from thousands of potential areas to six specific errors, a significant time saving. From there, the QC expert measured and specified the deviation using more traditional tools.
Moreover, with the design and asset model lined up digitally, the QC personnel was able to pinpoint deviation from the plans that are not measurable using traditional tools. Glove Fit identifies abstract points in space, such as a point of convergence of the angles of various points on the vessel. Such points reveal how small acceptable issues with the angle of some joiners could cause structural weakness that is otherwise undetectable.
To quote the QC specialist, “Glove Fit tells me where to look”.
Problem
1. QC for assets is challenging
2. Close-quarters environment
3. Expensive to bring external surveyors
4. Time consuming to measure with manual tools
5. Near infinite points to examine for errors
Solution
1. Glove technology can scan an as-built, and be compared to the plans
2. All error points can be identified
3. Narrows search to a handful of issues and misalignments
Results
1. Saves QC time, limits number of trips
2. Allows QC to find exact trouble points in a build much faster
